LWC IntroductionWhy Lightning Web ComponentLWC Browser supportSalesforce DX environment setupSalesforce DX project setupHello world using LWCOne-Way Data BindingTwo-Way Data Binding (@track)Conditional Renderingfor:each loopiterator loopRender multiple templateParent to Child Communication with string dataParent to Child Communication with Array/Object dataParent to Child Communication on action at parentParent to Child Communication by calling the Child method from Parent component.Child to Parent Communication by simple actionChild to Parent Communication by passing data on actionChild to Parent Communication by event bubbling
Salesforce DX environment setup.
Before creating the Lightning Web Component, we need to set up the salesforce DX project. In the previous article, we already have covered the prerequisite for creating the DX project.
Steps to setup Salesforce DX project
- In VS Code, open the Command Palette by pressing
Ctrl+Shift+Pon Windows orCmd+Shift+Pon macOS. - Type
SFDXand SelectSFDX: Create Project.

- Type
HelloWorldas the project name and pressEnter.

- Select a folder to store the project.
- Click
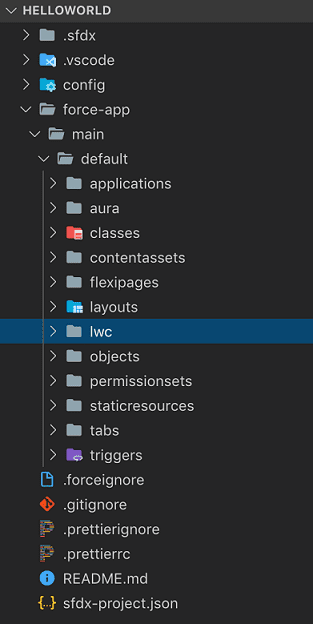
Create Project.You will see something like this as your base setup.

Authorize Your org
Till now, we have set up the DX project for our machine now. We have to connect this with our salesforce org. Follow the following steps to authorize your org
- In VS Code, open the Command Palette by pressing
Ctrl+Shift+Pon Windows orCmd+Shift+Pon macOS. - Type
SFDXandSelect SFDX: Authorize an Org.

- Press
Enterto accept the Project DefaultUse login URLoption. - Press
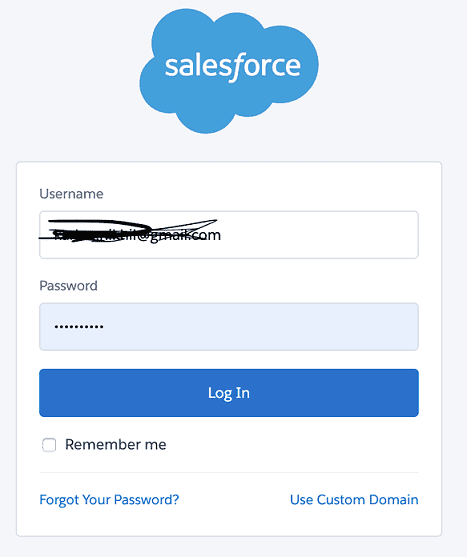
Enterto accept the default alias. It will open a window to Log in using your Salesforce credentials.

- After you authenticate in the browser, the CLI remembers your credentials. The success message should look like this:
